Boot Time Is Stolen Before Windows Even Loads — Here's How to Take It Back
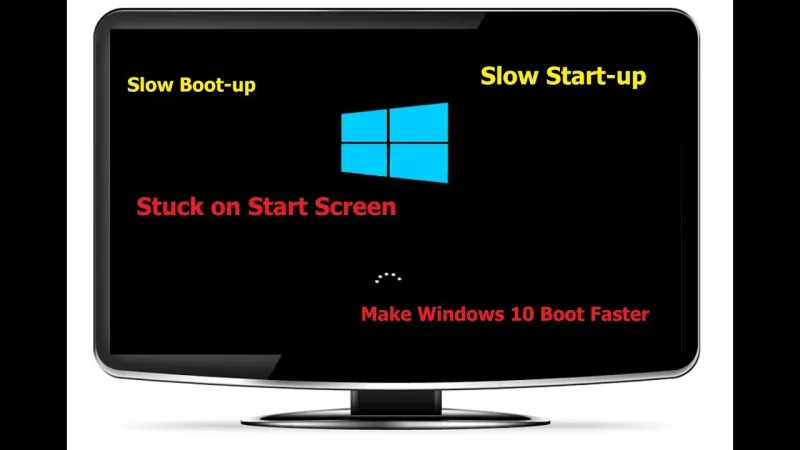
Photo: Windows computer slow startup loading screen desktop, via i.ytimg.com
There is a particular frustration that comes with pressing the power button on your PC and then walking away to pour a cup of coffee — not because you want to, but because you have to. For millions of Windows users across the United States, a slow boot is simply accepted as a fact of life. It should not be.
The reality is that most sluggish startups are not caused by aging hardware or a failing hard drive. They are caused by an overcrowded startup environment — a queue of applications, services, and background agents all competing to load themselves before you have typed a single keystroke. The good news is that this is entirely fixable, and it does not require reinstalling Windows or purchasing a new machine.
Why Windows Boot Times Deteriorate Over Time
When Windows first loads, it does not simply launch your desktop. It initializes hardware drivers, authenticates your user profile, loads system services, and then — critically — executes every program that has registered itself in the startup queue. That last step is where things fall apart for most users.
Software developers, almost universally, want their applications to start with Windows. Update managers, cloud sync clients, communication tools, printer utilities, gaming launchers, and media players all insert themselves into the startup sequence during installation. Most do so by default, without prominently disclosing this behavior. Over the course of a year or two of normal software installation, a typical Windows machine can accumulate anywhere from twenty to sixty startup entries. Each one adds latency. Collectively, they can extend boot time from under thirty seconds to well over three minutes.
The situation is compounded by the fact that many of these programs do not simply launch and sit idle. They initiate network connections, check for updates, index files, or spawn additional background processes. The result is a cascade: one program waits for another, system resources are saturated, and the desktop becomes interactive only in appearance — clicking an icon may still result in a delay because the underlying process has not finished loading.
Sorting the Necessary from the Unnecessary
Before disabling anything, it is worth understanding what actually needs to run at startup and what is simply occupying space.
Legitimate startup entries typically include:
- Windows Security and antivirus software (these must load early to protect the boot process)
- Hardware drivers with system-level dependencies, such as graphics card control software or audio management tools
- Cloud backup services, if you rely on them for real-time file protection
- Corporate IT management agents, if your machine is enrolled in an enterprise environment
Common candidates for disabling include:
- Application update managers for software you rarely use (Adobe Updater, Java Update Scheduler, and similar utilities)
- Gaming platform launchers such as Epic Games Launcher or Steam, unless you game immediately after every boot
- Communication apps like Discord, Slack, or Zoom when they are not required to be available at login
- Manufacturer-installed bloatware, including OEM diagnostic tools, promotional software, and redundant utility suites
- Browser extensions that register as startup programs independently of the browser itself
The distinction to keep in mind is utility versus convenience. A startup program is justified when its absence would break system functionality or compromise security. Everything else is a candidate for deferral.
Using Task Manager to Audit Your Startup Queue
Windows 10 and Windows 11 both include a built-in startup manager within Task Manager that provides enough information to make informed decisions.
- Press Ctrl + Shift + Esc to open Task Manager directly.
- Navigate to the Startup tab (in Windows 11, this may be labeled Startup apps in the left sidebar).
- Review the Startup impact column. Entries marked as High are consuming the most resources during the boot sequence.
- Right-click any entry to disable it. Disabled entries remain installed — they simply will not load automatically at startup.
For entries that do not appear in Task Manager, open the Settings app, navigate to Apps, and select Startup to find a more comprehensive list. Additionally, the Services panel (accessed by typing services.msc in the Run dialog) contains system-level background services, though modifications here require more caution and a clearer understanding of each service's function.
A Systematic Three-Step Cleanup Process
Rather than disabling items arbitrarily, a structured approach produces better results and reduces the risk of inadvertently breaking something.
Step 1 — Identify and categorize. Open Task Manager's Startup tab and make a mental or written note of every High-impact entry. Search each unfamiliar name online before making a decision. Reputable resources such as the Microsoft support documentation or established tech databases can clarify whether a given process is system-critical.
Step 2 — Disable incrementally. Do not disable everything at once. Start with the most obvious candidates — gaming launchers, update managers, and OEM bloatware — and restart your machine. Measure the improvement. If the system behaves normally, proceed to the next group.
Step 3 — Retest and adjust. After a few restart cycles, verify that all your essential applications are functioning. Re-enable any entry that turns out to be necessary. The process is entirely reversible, which means there is no meaningful risk in experimenting methodically.
When Startup Cleanup Alone Is Not Enough
If your boot time remains unsatisfactory after a thorough startup audit, a few additional factors may be contributing to the delay.
Machines still running traditional spinning hard drives will see dramatically greater benefit from upgrading to a solid-state drive than from any software-level optimization. Boot time on an SSD is fundamentally faster due to the elimination of mechanical seek latency. This is one of the highest-value hardware upgrades available for older systems.
Windows Fast Startup, enabled by default on most systems, can occasionally cause instability or extended load times on machines with certain hardware configurations. Disabling it through Control Panel > Power Options > Choose what the power buttons do is worth testing if other optimizations have not resolved the issue.
Finally, a significant accumulation of temporary files, fragmented system data, or a Windows installation that has not been maintained can contribute to slow initialization. Running the built-in Disk Cleanup utility and ensuring Windows Update is current addresses these variables without requiring third-party tools.
The Compounding Value of a Clean Startup
A startup sequence that has been properly audited does more than reduce boot time. It frees up RAM that would otherwise be consumed by idle background processes, reduces CPU and disk contention during the first several minutes of use, and extends battery life on laptops by eliminating unnecessary background activity.
The effort required is modest — typically under ten minutes for an initial audit and cleanup. The returns, measured in time recovered across every boot cycle going forward, are disproportionately large. At RooterX2, the principle is straightforward: your machine should be ready when you are, not the other way around.